Turn iPhone Portrait Mode Photos into 3D in 4 Simple Steps
If you've happened to be scrolling through your Facebook feed and stumbled upon the new "3D photo" trend and wondered how you can do it yourself, look no further!
New techniques are always welcomed into the evolving photography wheelhouse of Edward Tomasso. These techniques usually come with a price tag on new equipment for photographers, but the new 3D portrait mode is accessible in the palm of your hand! All you need is your iPhone, the Facebook app, and a photo taken in portrait mode.
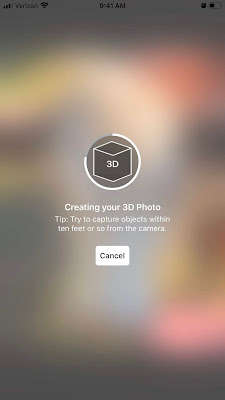
This December, Facebook added a feature to their post update capabilities. Users can now add "3D" images to their Facebook status update with the click of a button.
The photo edits that Facebook uses to auto adjust your image are slight manipulations of any portrait mode photo, that are only visible when you move your phone of cursor over the image itself, or moving your phone.
Seems complicated, right? You don't need to be spend time at a photography workshop to learn this new skill. Here's how you can try it out on your own and become a become a photography genius in 4 simple steps:
Step 1
 Open Facebook and at the top of the screen where you usually post a status update, labeled "What's on your mind," click the photo button


Comments
Post a Comment